Recently, I started exploring graphics and game development, diving into OpenGL and GLSL out of curiosity and passion for learning new things. I faced some initial setup challenges with CLion, so I switched to VSCode using a helpful tutorial by Codeus. I created a small workaround to run multiple .cpp files by editing task.json. Through this journey, I’ve learned how to set up OpenGL with GLFW and GLAD, toggle window colors per frame, draw basic shapes like triangles and circles, build a mini solar system with transformations, write vertex and fragment shaders, apply textures using BMP files, and render cubes using both shared and unique vertices. I faced a few roadblocks along the way—like BMP texture loading issues and rendering order confusion—but documenting it all helped me reflect and track progress.
Introduction
I have recently developed interest in graphics and game development, learning these new things is always fun. I have been learning OpenGL and GLSL for a while now, and I have found some great resources to learn from. I will be sharing them here, so that you can also learn from them.
Challenge
Firstly I faced a challenge in setting up OpenGL and GLSL in clion, which i primarily use for C/C++ development. I could not find any good resources and still face this challenge. I will update this log if I find a solution.
Vscode
Facing challenge in clion, I decided to use VSCode for OpenGL and GLSL development. I found a great video on youtube by Codeus Channel, which explains how to setup OpenGL and GLSL in VSCode. I have linked the video below.
Youtube video by Codeus Channel:
Workaround to run multiple files
Here the task.json file shared in the tutorial works only for one file which is main.cpp but I wanted to run any file I wanted just by selecting run on that particular file. Unfortunately I did not find any solution for this, but I found a workaround. I just edit the task.json file and change the file name to the file I want to run.
1{
2  "version": "2.0.0",
3  "tasks": [
4    {
5      "type": "cppbuild",
6      "label": "C/C++: g++.exe build active file",
7      "command": "C:/mingw64/bin/g++.exe",
8      "args": [
9        "-g",
10        "-std=c++17",
11        "-I${workspaceFolder}/include",
12        "-L${workspaceFolder}/lib",
13        "${workspaceFolder}/src/matrixplanet.cpp", //change this
14        "${workspaceFolder}/src/glad.c",
15
16        "-lglfw3dll",
17
18        "-o",
19
20        "${workspaceFolder}/cutable.exe"
21      ],
22
23      "options": {
24        "cwd": "${workspaceFolder}"
25      },
26
27      "problemMatcher": ["$gcc"],
28
29      "group": {
30        "kind": "build",
31
32        "isDefault": true
33      },
34
35      "detail": "compiler: C:/mingw64/bin/g++.exe"
36    }
37  ]
38}How to run multiple files
Here "${workspaceFolder}/src/matrixplanet.cpp", is the line which runs the particular file.
instead of matrixplanet.cpp I can run any file I want, just by changing the file name.
Where to put the files
I put all my files in the src folder, and I can run any file I want just by changing it in the task.json file.
Learning
Here are some things I have learned so far.
Basic skeleton in OpenGL
1#include <iostream>
2#include <glad/glad.h>
3#include <GLFW/glfw3.h>
4
5using namespace std;
6int main() {
7 GLFWwindow * window;
8 if (!glfwInit()) {
9 cout << "Failed to initialize GLFW" << endl;
10
11 return -1;
12
13 }
14
15 window = glfwCreateWindow(640, 480, "Hello World", 0, 0);
16
17 if (!window)
18
19 {
20
21 cout << "Failed to create window" << endl;
22
23 glfwTerminate();
24
25 return -1;
26
27 }
28
29 glfwMakeContextCurrent(window);
30
31 if (!gladLoadGLLoader((GLADloadproc) glfwGetProcAddress))
32
33 {
34
35 cout << "Failed to initialize GLAD" << endl;
36
37 return -1;
38
39 }
40
41 // render loop
42
43 while (!glfwWindowShouldClose(window))
44
45 {
46
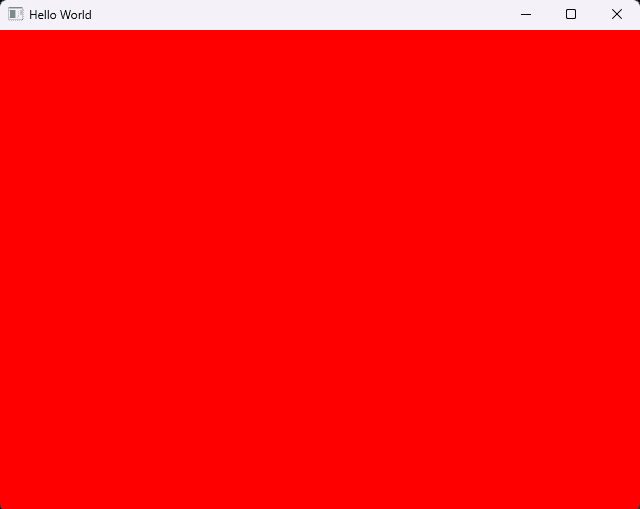
47 glClearColor(1.0, 0, 0, 0);
48
49 glClear(GL_COLOR_BUFFER_BIT);
50
51 glfwSwapBuffers(window);
52
53 glfwPollEvents();
54
55 }
56
57 glfwTerminate();
58
59}The tutorials I followed, some of them did not use glad and even without using it their code ran. But I got errors if I did not use glad so just by adding glad I was able to run the code.
Note
Also if I had to render anything that should go after the glad load function, otherwise it would not render.
1if (!gladLoadGLLoader((GLADloadproc)glfwGetProcAddress))
2    {
3        cout << "Failed to initialize GLAD" << endl;
4        return -1;
5    }
6 // render2. Toggle color of the window each frame.
😋 this was a fun thing to do, basic though as compared to other things I did.
1bool toggle = false;
2    // render loop
3    while (!glfwWindowShouldClose(window))
4    {
5        if(toggle)
6        {
7            glClearColor(1.0,0,0,0);
8        }
9        else
10        {
11            glClearColor(0,1.0,0,0);
12        }
13        toggle = !toggle;
14        glClear(GL_COLOR_BUFFER_BIT);
15        glfwSwapBuffers(window);
16        glfwPollEvents();
17    }
18 glfwTerminate();This just made the screen go crazy with red and green color change each frame.
3. Drawing a Triangle
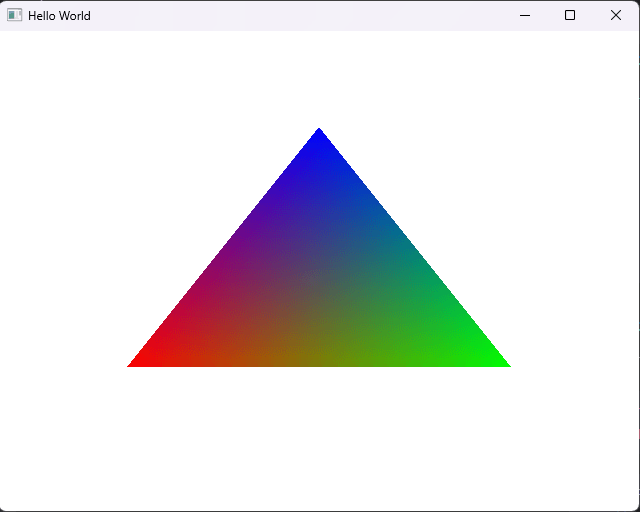
1glBegin(GL_TRIANGLES);
2        glColor3f(1.f,0.f,0.f);
3        glVertex3f(-0.6f,-0.4f,0.0f);
4        glColor3f(0.f, 1.f, 0.f);
5        glVertex3f(0.6f,-0.4f,0.0f);
6        glColor3f(0.f, 0.f, 1.f);
7        glVertex3f(0.f,0.6f,0.0f);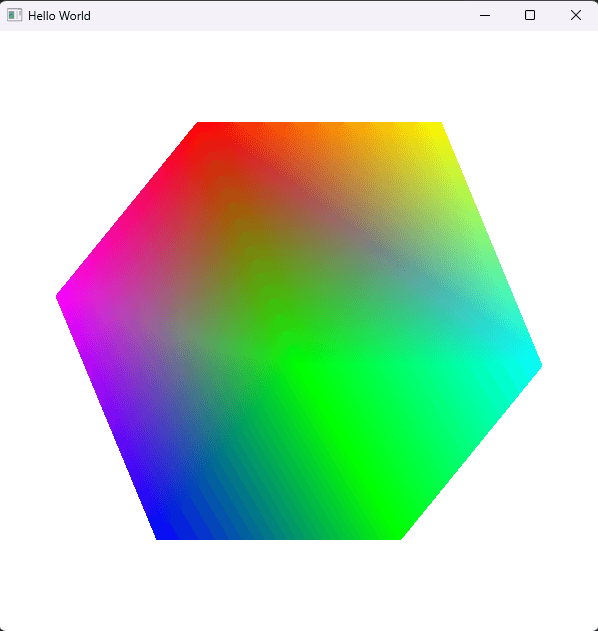
8 glEnd();With this I learned how to draw a triangle, and how to set the color of the triangle. I also learned that the color of the triangle is set by the last glColor3f function. So if I want to set the color of the triangle I should set it before the glVertex3f function. I also learned we can created circles with triangles too! 😋 In the next learning I will be drawing a circle with triangles.
4. Drawing a Circle with steps
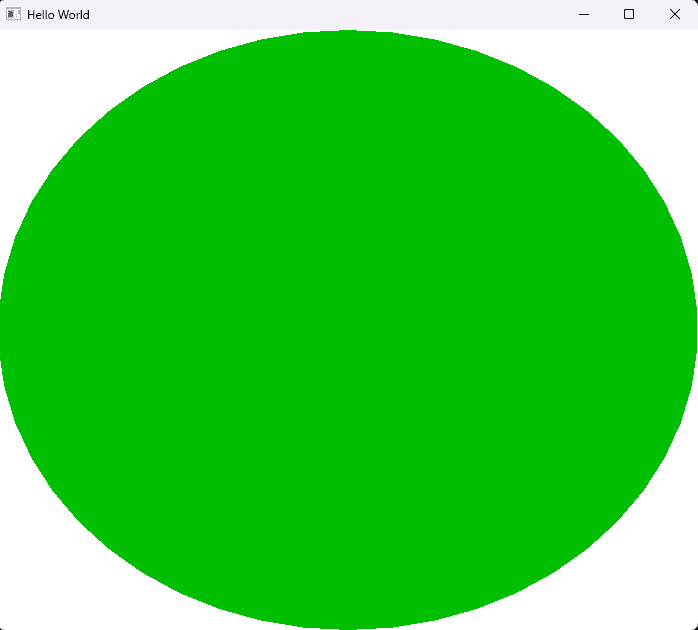
Outside of the main function, I set the steps and step angle.
If we have less steps the circle will not be smooth, and if we have more steps the circle will be smooth but it will take more time to render. You can set less steps and see how the triangle form a complete circle.
1const int steps = 50;
2const float stepAngle = 3.1415926f * 2.f / steps;1float xPos = 0; float yPos = 0; float radius = 1.0f;
2 // render loop
3 while (!glfwWindowShouldClose(window))
4 {
5 glClearColor(1,1,1,0);
6 glClear(GL_COLOR_BUFFER_BIT);
7 float xCenter = 0.0f;
8 float yCenter = 0.0f;
9 float radius = 1.f;
10
11 float rx = xCenter;
12 float ry = yCenter-radius;
13
14 for (int i=0;i<=steps;i++) {
15 float angle = stepAngle*i;
16 float newRx = radius*sinf(angle);
17 float newRy = -radius*cosf(angle);
18 glBegin(GL_TRIANGLES);
19 glColor3f(0.f,0.75f,0.f);
20 glVertex3f(0.f,0.f,0.f);
21 glVertex3f(rx,ry,0.f);
22 glVertex3f(newRx,newRy,0.f);
23 glEnd();
24 rx = newRx;
25 ry = newRy;
26 }
27 glfwSwapBuffers(window);
28 glfwPollEvents();
29 }
30
31 glfwTerminate();Here I have used the sinf and cosf functions to calculate the x and y position of the triangle. I have used the glBegin and glEnd functions to draw the triangle. I have also used the glVertex3f function to set the position of the triangle. I have also used the glColor3f function to set the color of the triangle.
Note
I forgot to <= in the for loop
1for (int i=0;i<=steps;i++)instead i did was i < steps which caused the circle to not complete. I was stuck on this for a while, but then I figured out the problem.
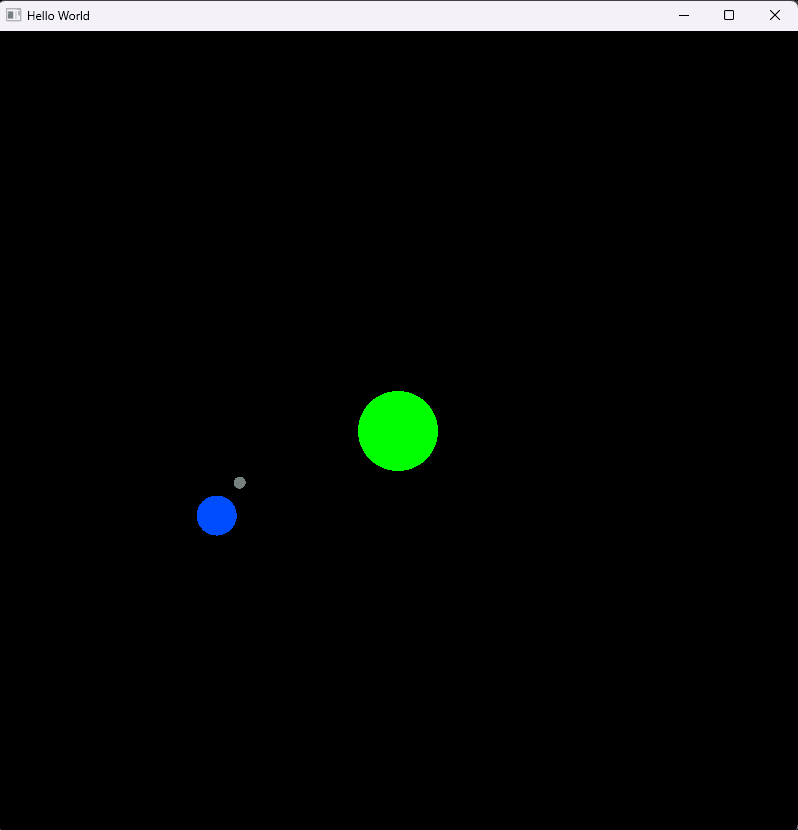
5. Drawing solar system
Made a reusable function to draw a circle.
1const int steps = 100;
2
3void drawCircle(float red, float green, float blue){
4
5    float radius = 1.;
6
7    const float angle = 2.0f * 3.1416f / steps;
8
9    float oldX = 0; float oldY = 0;
10
11    for (int i = 0; i <= steps; i++) {
12
13        float newX = radius  sin(i  angle);
14
15        float newY = radius  cos(i  angle);
16
17        glColor3f(red, green, blue);
18
19        glBegin(GL_TRIANGLES);
20
21        glVertex3f(0.f, 0.f, 0.f);
22
23        glVertex3f(oldX, oldY, 0.f);
24
25        glVertex3f(newX, newY, 0.f);
26
27        glEnd();
28
29        oldX = newX;
30
31        oldY = newY;
32
33    }
34
35}And used GL_MODELVIEW to draw the planets.
the glPushMatrix and glPopMatrix functions are used to save the current state of the matrix and restore it later. This is used to draw the moon around the earth.
If I did not use the glPushMatrix and glPopMatrix the earth would go 5 points up in a loop hence we could not see the earth and moon rotating.
The {} are used to create a scope, so that the glPushMatrix and glPopMatrix functions are used only for the earth and moon.
I scaled down the moon and earth to make it look like a solar system. Also created a separate variable for the angle of the moon, so that it rotates much faster around the earth.
1glMatrixMode(GL_MODELVIEW);
2    glLoadIdentity();
3    glScalef(0.1, 0.1, 1);
4    float angle = 0;
5    float angleMoon = 0;
6    // render loop
7    while (!glfwWindowShouldClose(window))
8    {
9        angle += 1;
10        glClearColor(0,0,0,0);
11        glClear(GL_COLOR_BUFFER_BIT);
12        // sun
13        drawCircle(0, 1, 0);
14        {
15            // earth
16            glPushMatrix();
17            glRotatef(angle, 0, 0, 1);
18            glTranslatef(0,5,0);
19            glScalef(0.5, 0.5, 1);
20            drawCircle(0, 0.3, 1);
21            {
22                // moon
23                glPushMatrix();
24                glRotatef(angleMoon, 0, 0, 1);
25                glTranslatef(0, 2, 0);
26                glScalef(0.3, 0.3, 1);
27                drawCircle(0.5, 0.5, 0.5);
28                glPopMatrix();
29                angleMoon += 5;
30            }
31            glPopMatrix();
32        }
33
34        glfwSwapBuffers(window);
35
36        glfwPollEvents();
37    }
38
39 glfwTerminate();6. Trying shaders
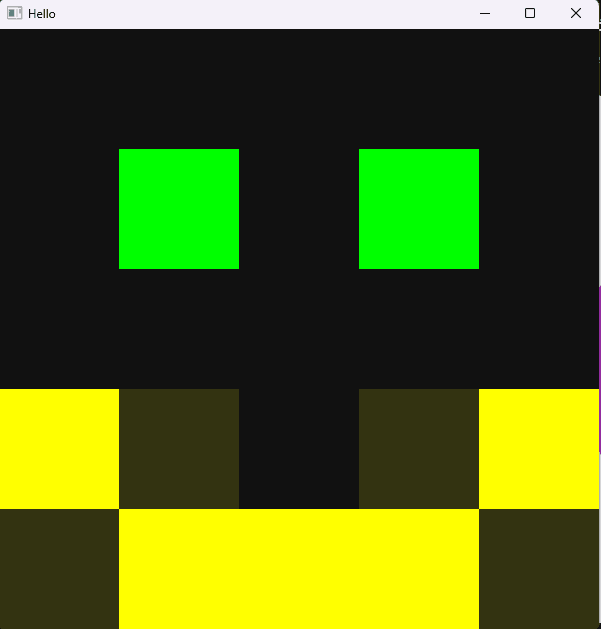
I learned how sharders are set for the vertex and fragment. I also learned how to set the color of the triangle in the fragment shader.
I tried creating a cube with two triangles giving both different colors.
7. Drawing a texture rectangle sprite
1// vertex shader source
2
3const GLchar* vertex120 = R"END(
4#version 120
5attribute vec3 inPosition;
6attribute vec2 inUvs;
7varying vec2 outUvs;
8uniform mat4 matrix;
9void main()
10{
11    outUvs = inUvs;
12    gl_Position = matrix * vec4(inPosition,1.f);
13}
14)END";
15
16// fragment shader source
17
18const GLchar* raster120 = R"END(
19#version 120
20uniform vec2 res;
21uniform float time;
22varying vec2 outUvs;
23uniform sampler2D tex; // 1st texture slot by default
24void main()
25{
26    gl_FragColor = texture2D(tex, outUvs);
27}
28)END";I assigned the raster120 framgment shader to the shader fragrment and also the vertex120 vertex shader to the shader vertex.
and then created a shader created a shader program to attach both of them to the shader program.
1// ------------- VERTEX SHADER
2    source = vertex120;
3    GLuint shaderVertex = glCreateShader(GL_VERTEX_SHADER);
4    glShaderSource(shaderVertex,1,&source,0);
5    glCompileShader(shaderVertex);
6    glGetShaderiv(shaderVertex, GL_COMPILE_STATUS, &compilationStatus);
7
8    if (compilationStatus == GL_FALSE) {
9        GLchar messages[256];
10        glGetShaderInfoLog(shaderVertex, sizeof(messages), 0, &messages[0]); std::cout << messages;
11        exit(1);
12    }
13
14    // ---------- FRAGMENT SHADER
15
16    source = raster120;
17    GLuint shaderFragment = glCreateShader(GL_FRAGMENT_SHADER);
18    glShaderSource(shaderFragment,1,&source,0);
19    glCompileShader(shaderFragment);
20    glGetShaderiv(shaderFragment, GL_COMPILE_STATUS, &compilationStatus);
21    if (compilationStatus == GL_FALSE) {
22        GLchar messages[256];
23        glGetShaderInfoLog(shaderFragment, sizeof(messages), 0, &messages[0]); std::cout << messages;
24        exit(1);
25    }
26
27    // ------------- SHADER PROGRAM
28
29    GLint linkStatus;
30    GLuint shaderProgram = glCreateProgram();
31    glAttachShader(shaderProgram,shaderVertex);
32    glAttachShader(shaderProgram,shaderFragment);
33    glLinkProgram(shaderProgram);
34    glGetProgramiv(shaderProgram,GL_LINK_STATUS,&linkStatus);
35
36    if (linkStatus == GL_FALSE) {
37        GLchar messages[256];
38        glGetProgramInfoLog(shaderProgram,sizeof(messages),0,&messages[0]);
39        std::cout << messages;
40        exit(1);
41    }
42
43 glUseProgram(shaderProgram);I then created vbo's and uvs, added pixel texture and ran the shader program.
8. Loading a bmp texture
I tried adding a bmp texture to a simple rectangle to just show the entire texture. I learned how to load a bmp texture and how to set it to the rectangle.
Error I faced
I faced an error while loading the texture, the texture was not loading and the application did not run. I am still stuck on this maybe because opengl is sensitive to the bitmap format. I requires 32 bit bmp format. I will update this log if I find a solution.
9. Cube with shared and Unique vertices.
Shared Vertex Cube (8 vertices):
I learned how to create a cube with shared vertices and unique vertices. I also learned how to set the color of the cube in the fragment shader.
The cube is made up of 8 vertices, and each vertex is shared by 3 faces. The cube is made up of 6 faces, and each face is made up of 2 triangles. The cube is made up of 12 triangles.
    3-------2
   /|      /|
  / |     / |
 7-------6  |
 |  |    |  |
 |  0----|--1
 | /     | /
 4-------5
Vertices are shared among faces.
Vertex 2 is part of the front, right, and top faces.
Coloring Vertex 2 one color will affect all three faces.
Colors will be interpolated between shared vertices, mixing at edges.
Unique Vertex Cube (24 vertices):
Front Face Vertices (4 unique):
    3'------2'
   /       /
  /       /
4'------1'
Right Face Vertices (4 unique):
         2''-----6'
        /       /
       /       /
     1''------5'
Top Face Vertices (4 unique):
        6''-----2'''
       /       /
      /       /
    5''------1'''
Each face has 4 unique vertices, not shared with other faces.
Vertex 2 is replicated three times (2', 2'', 2''') for the front, right, and top faces.
Each instance of Vertex 2 can have a different color, giving each face a unique color.
No color interpolation between faces; each face is a solid color.
Github Repo
I have created a github repo for this project, you can check it out here. Github


